The cost of the electronics required for FPV flying has come down significantly, such that I decided to have a go at FPV flying myself.
FPV - First Person View. This is where you fit a small camera in the nose of the plane and you send that live camera view back to the pilot, which he/she then uses to control the plane. By looking just at the video feed, the pilot gets a true cockpit view and the whole experience becomes much more like actually being inside the plane while flying it.
To start with this I wanted a slow, stable plane and I found the (free!) plan for this model on www.mickeysrc.com. Built over 2 weekends it has indeed turned out to be a slow and stable plane, with lots of room to carry the extra equipment for FPV.
Here is the end result : left-front view, front view and right-front view :
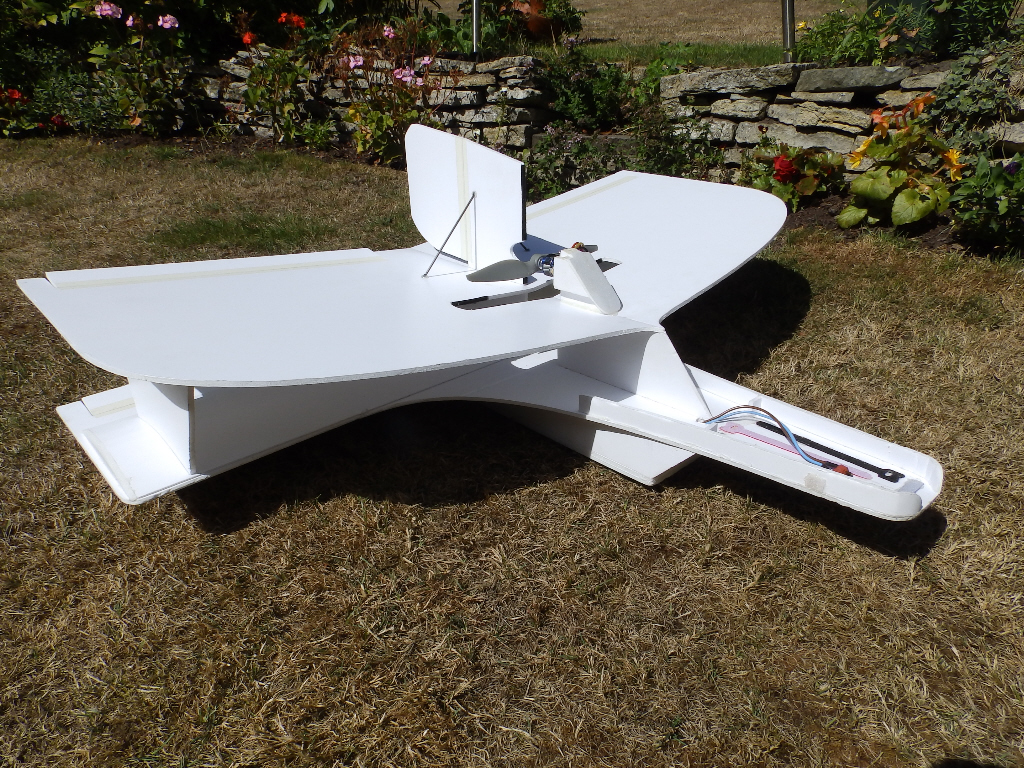
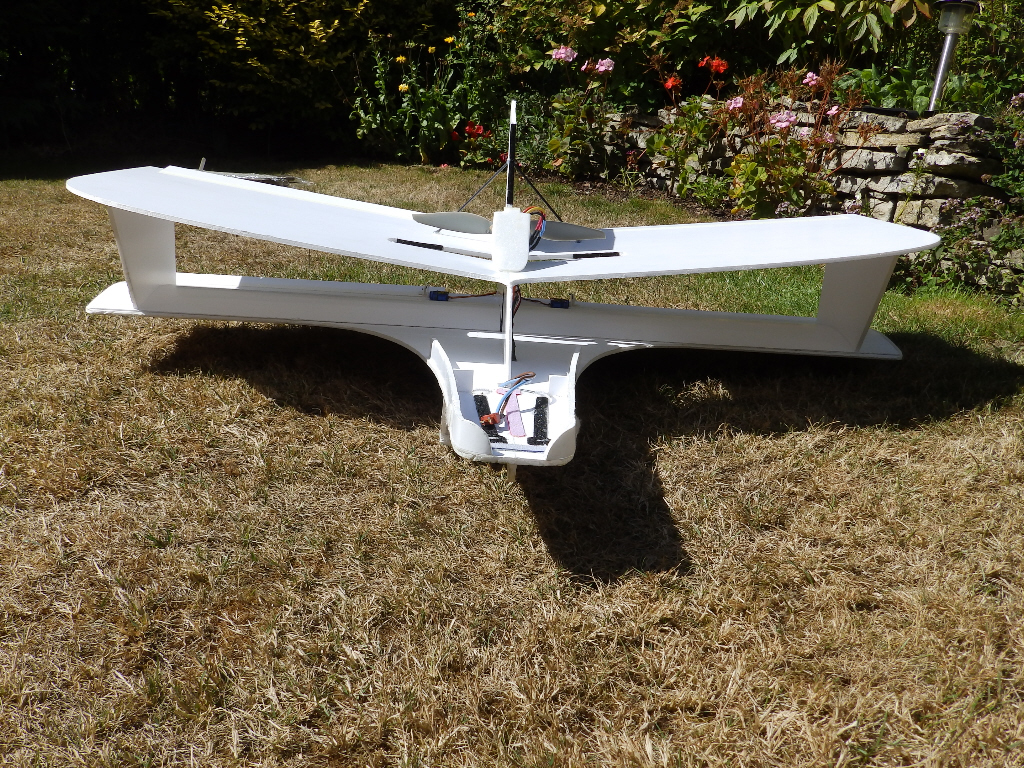
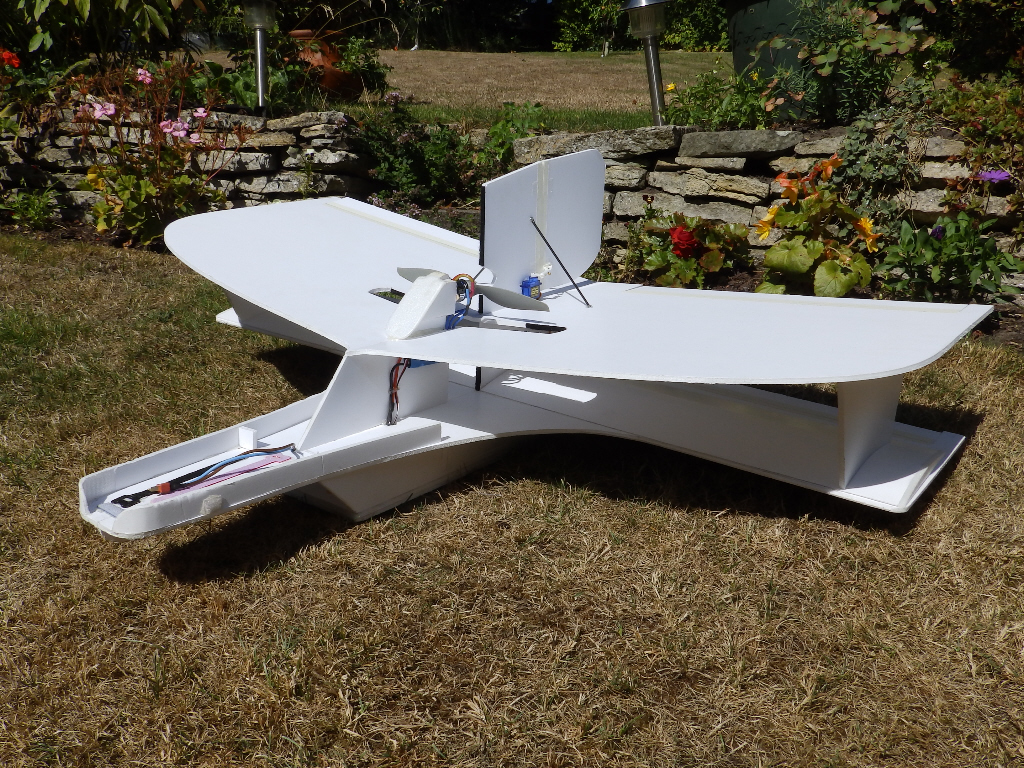
The build was very straightforward, although I did use some materials that I had not used before. The first was foamboard, this is like Depron with paper already glued on both sides. About 70% heavier than depron alone, but it is much stronger and the paper gives a lovely finish and readily takes paint and glue.The entire plane is made from this foamboard.
The second new material is hotglue. After some practice with the hotglue gun I found it easy to work with; it gives a pretty strong bond on most materials and sets in less than 10 seconds. Downside is that you can't glue big/long surfaces (insufficient time) and it is pretty heavy.
Of course along the way I had to make some modifications, which is what the remaining pictures are about.
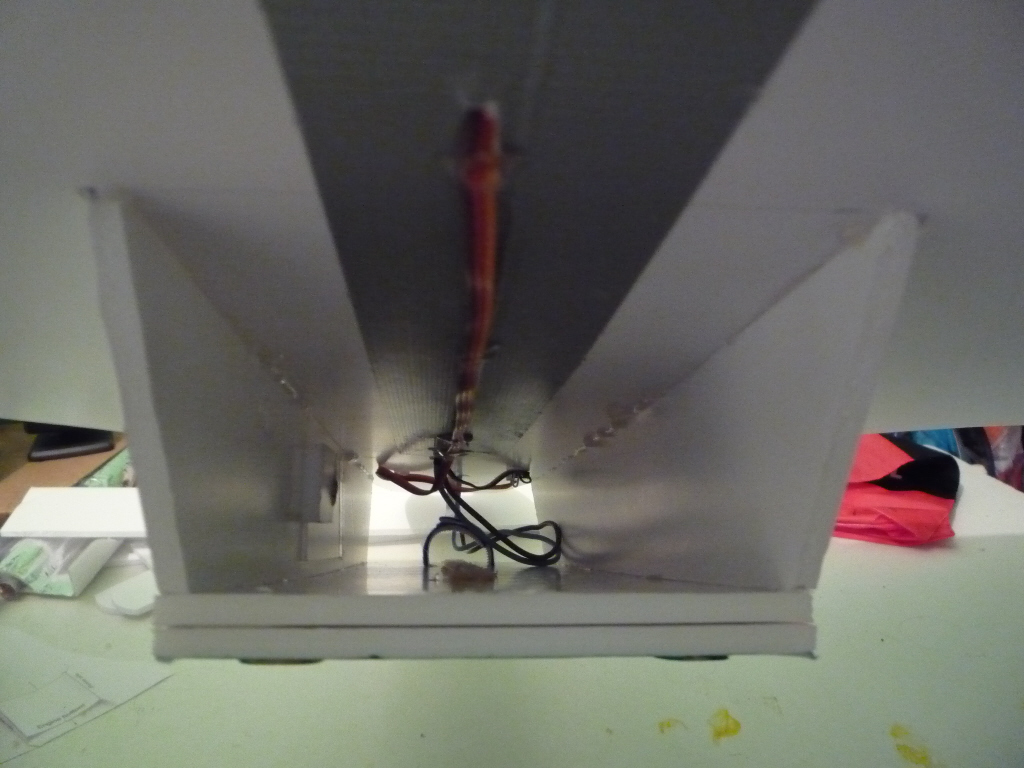
First is the location of the radio gear. On the original the receiver is on the top, near the front. I think the back, in between the wings, is a better location. As the video transmitter for the FPV will be located at the front, having the receiver at the back will reduce the chance of interference between those 2. Also by having the receiver and servos at the back, there is no need for messy, long wires running along the cutout for the propeller. I have only 1 wire going from back to front, for the throttle to the ESC, and that one is routed through the battery compartment so doesn't go near the propeller.
Here is the left-back view, back view and right-back view :
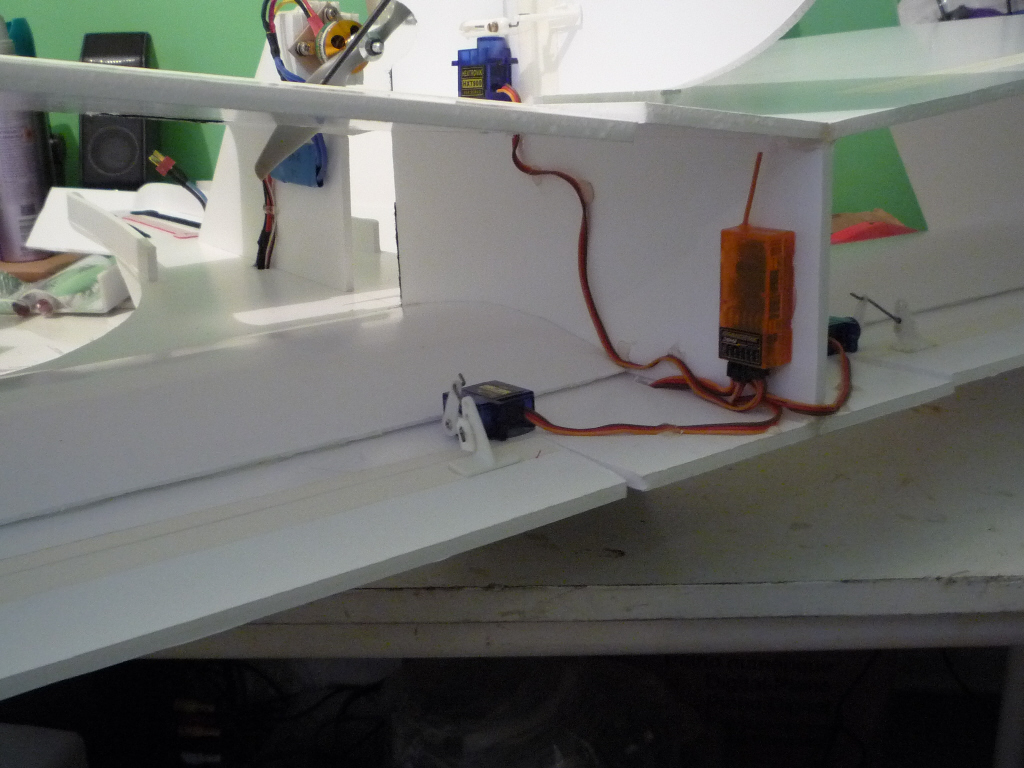
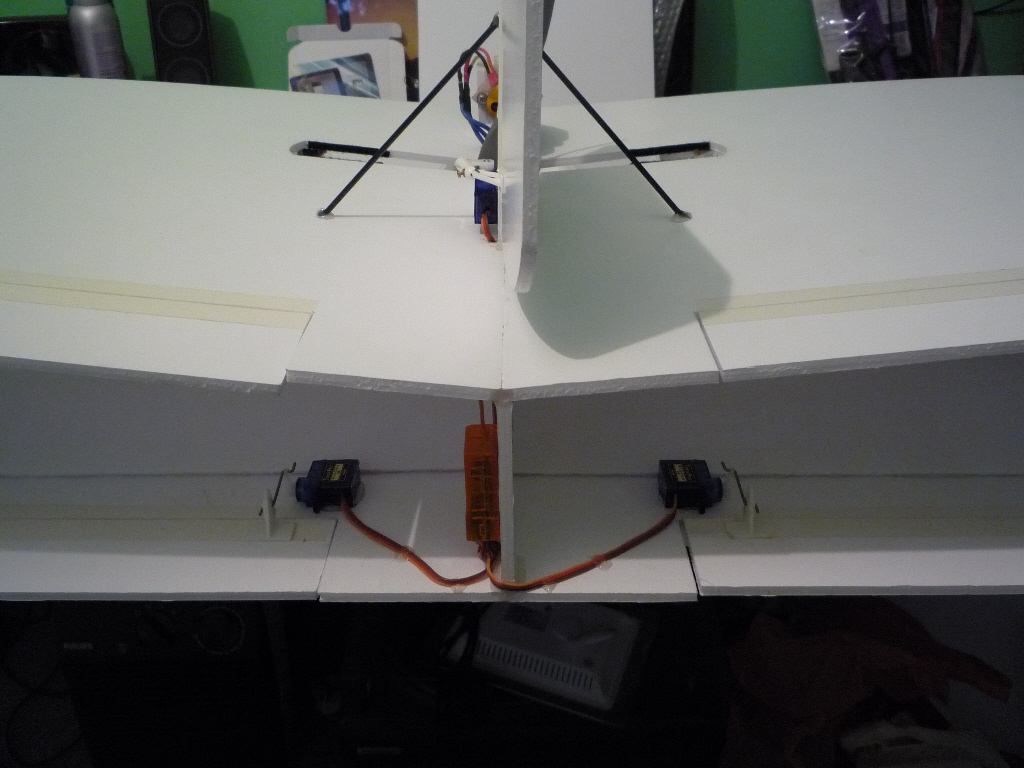
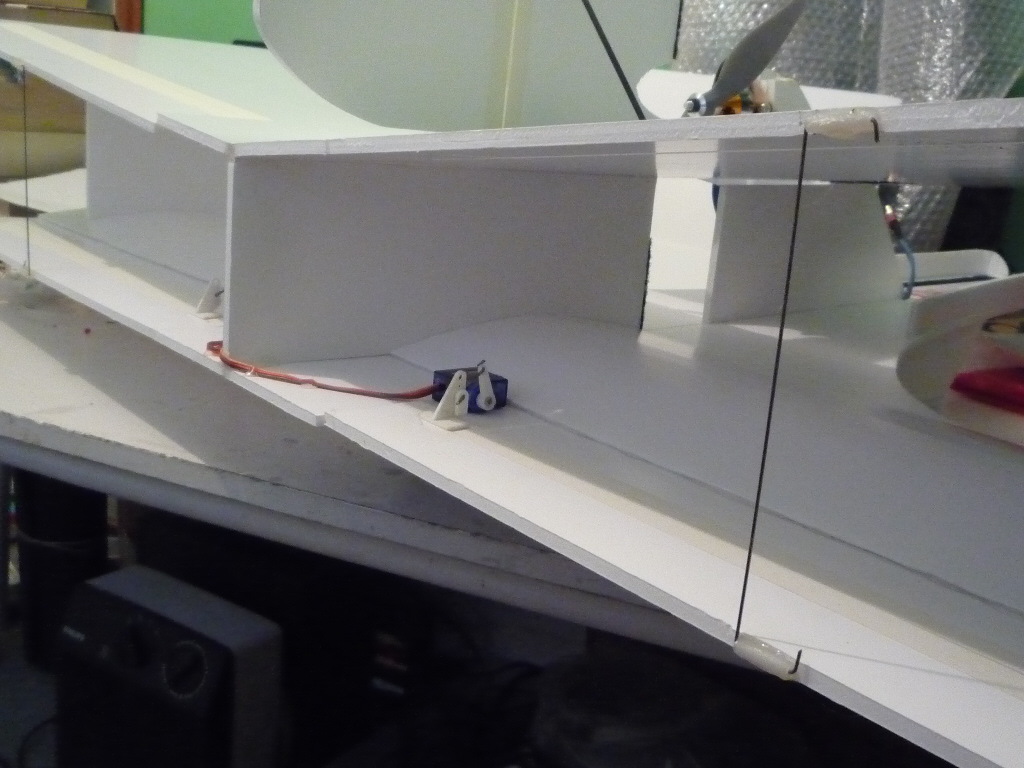
That last picture also shows the simplified connection between top and bottom elevators.
By putting a 3 mm depron piece over the front of the motor mount it looks a lot tidier; it also shows I used plenty of hot glue for the motor mount as that takes most of the strain :
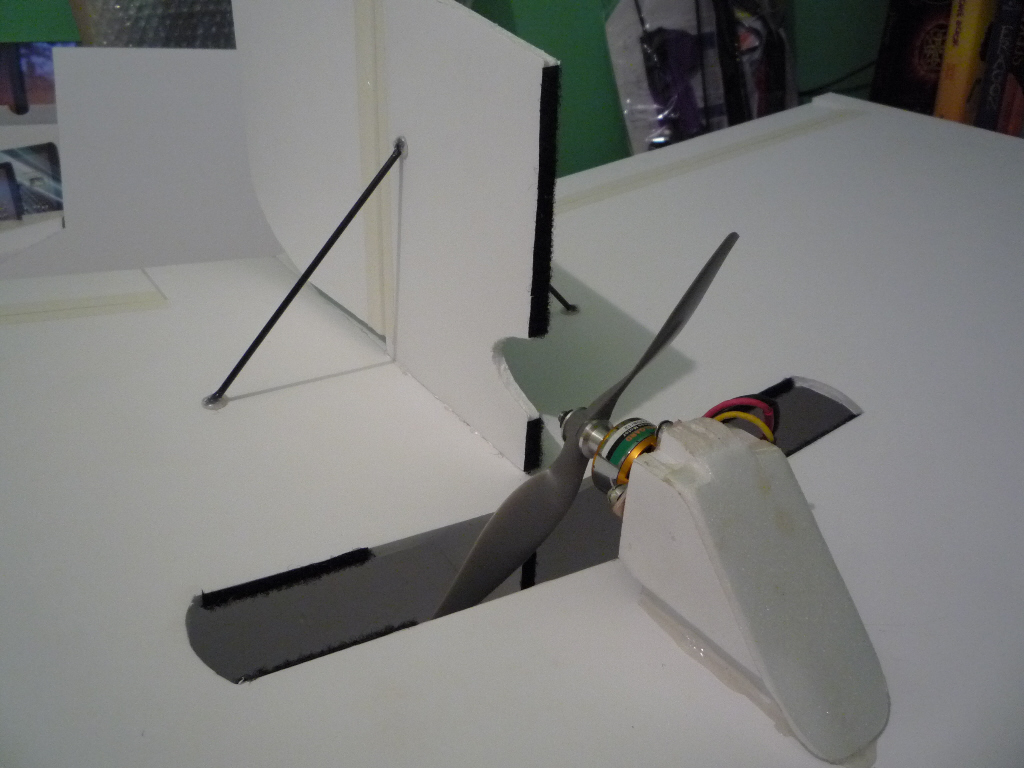
As you can see I also put some fluffy velcro on part of the propeller cutout to reduce the propeller noise. Hard to tell if it made any difference to be honest.
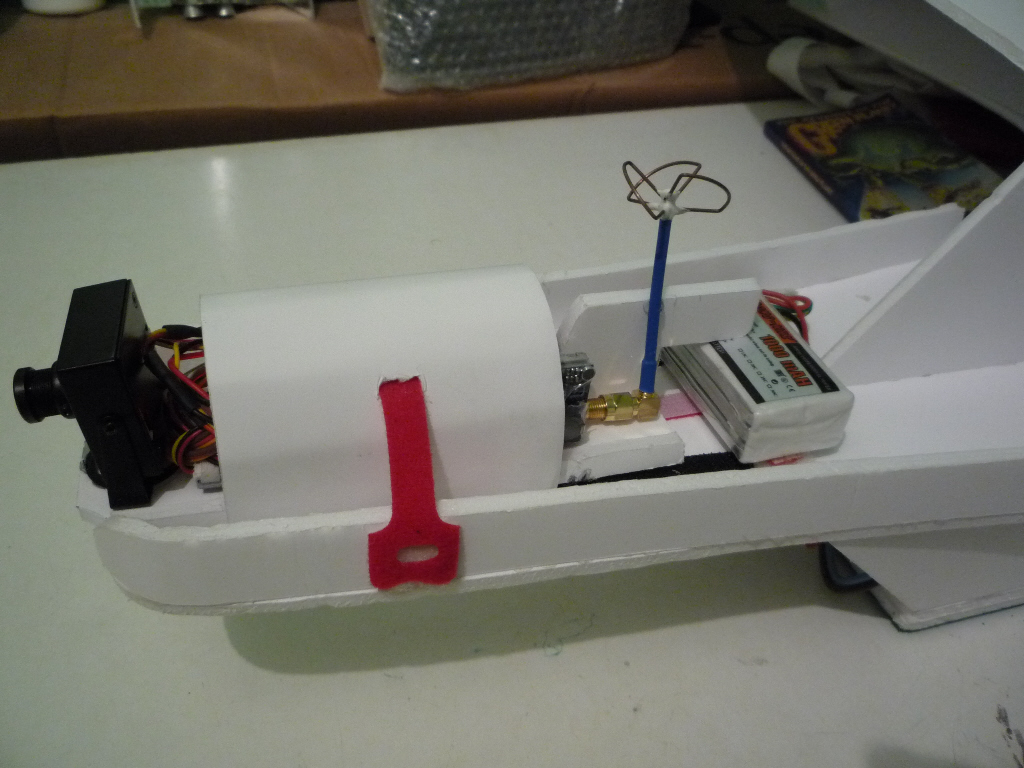
Velcro on the nose, and then the FPV pod attached to it :
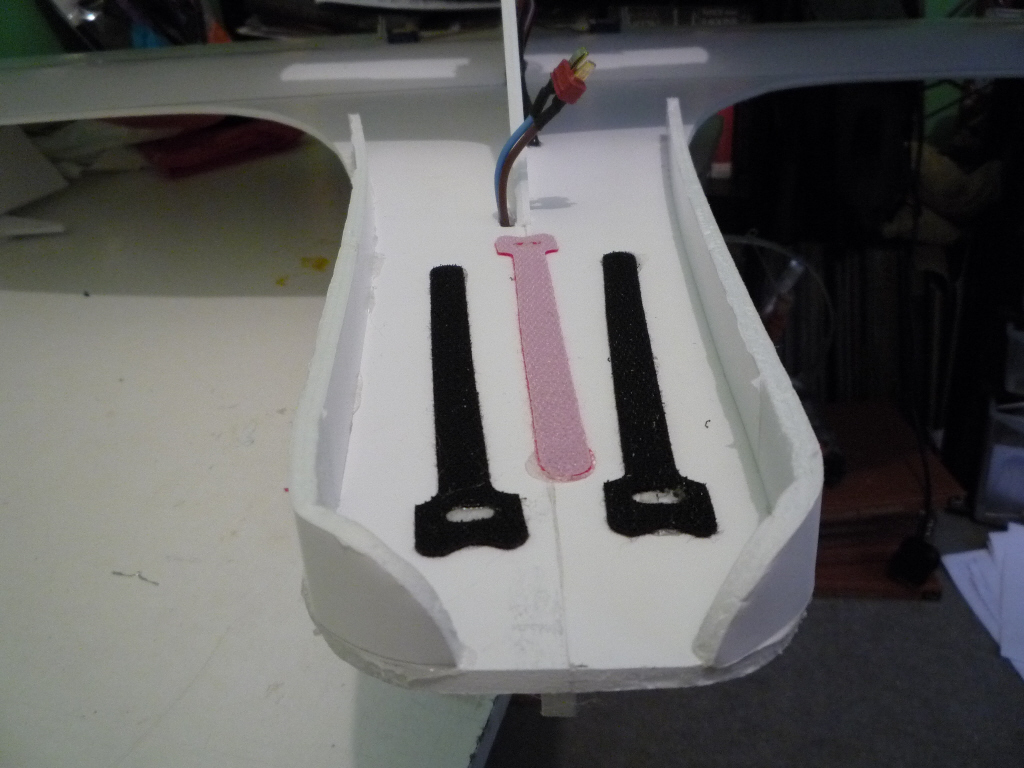
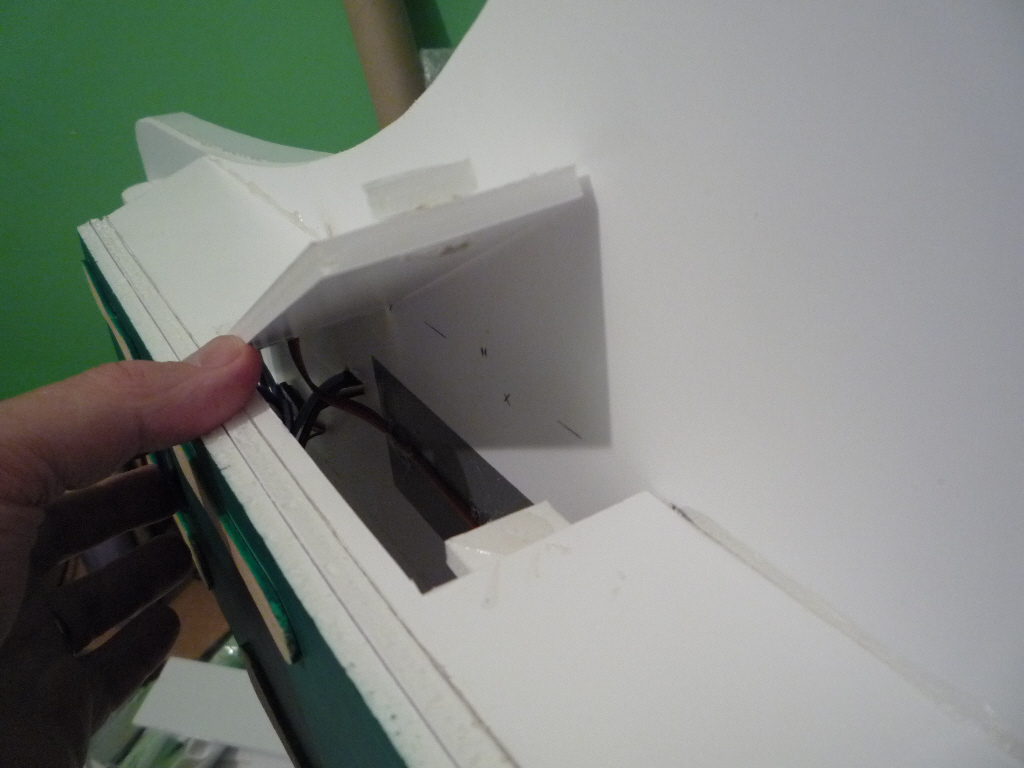
Battery hatch (some little magnets keep it shut):
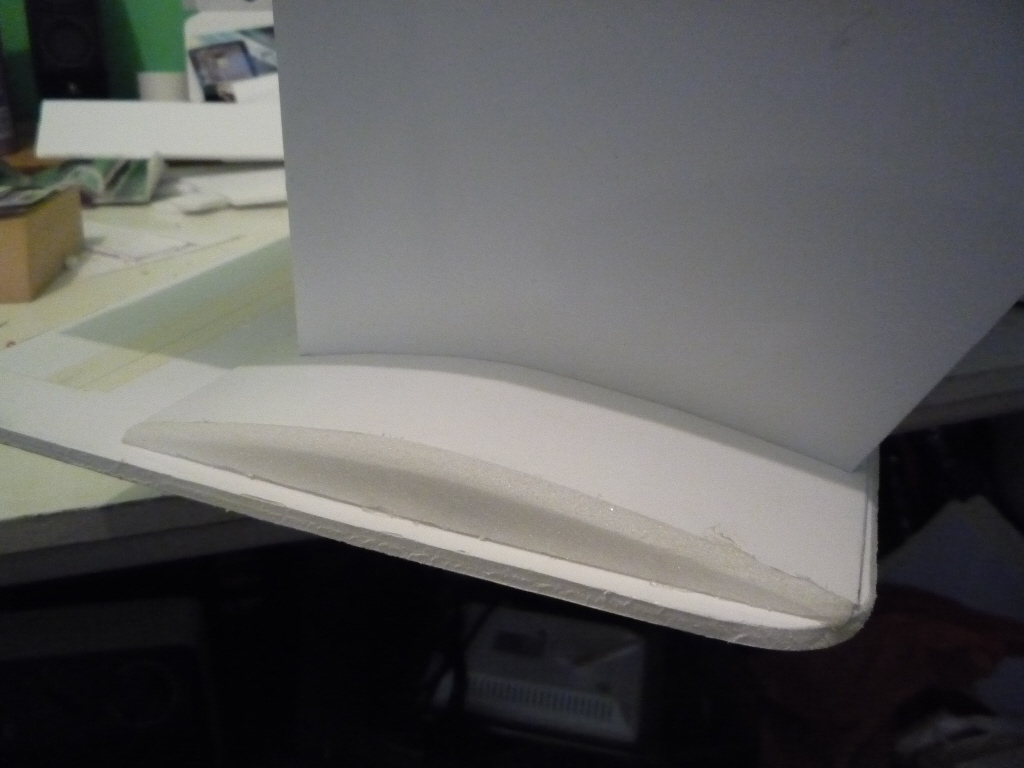
Side cover on bottom wing :
View through the battery compartment, showing the throttle wire running from back to front :
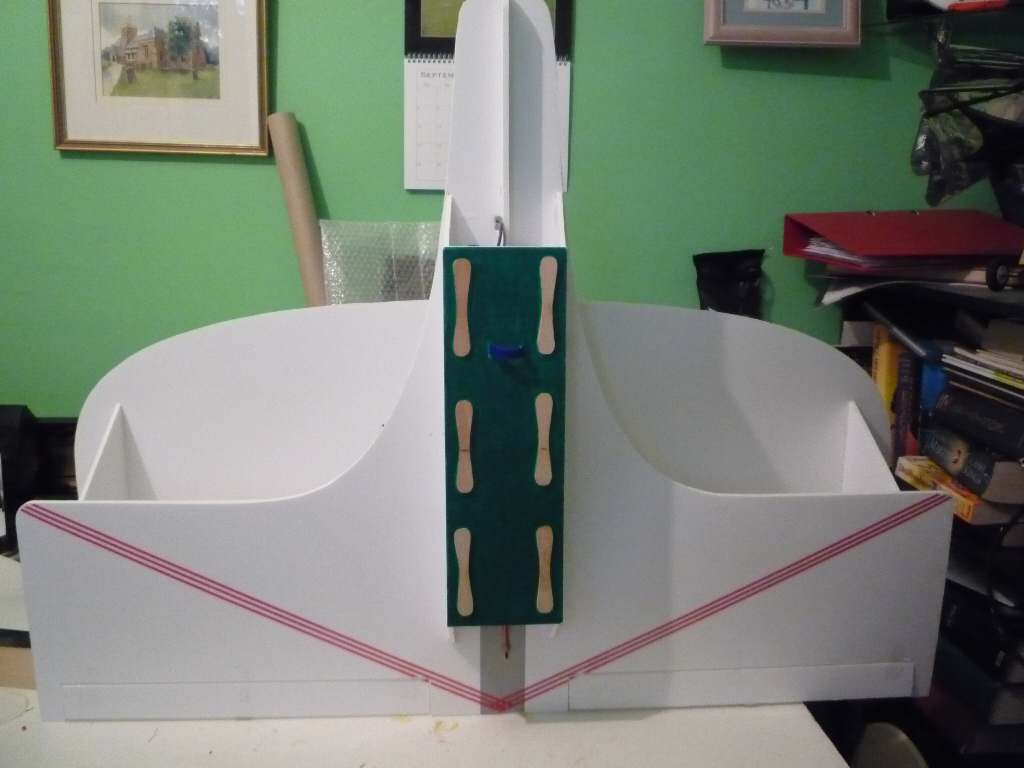
And finally, some markings I made on the bottom of the plane to aid visibility (yes those are icecream sticks, and the middle ones have a mark showing where the COG should be) :
Another thing I changed was the amount of control. Elevator is now down to 11 mm up+down, as is Aileron. Rudder is 37 mm left+right.
Flight videos are here and here
Comments ? Suggestions ? Requests ? Email me on :
